Configure Amazon S3 Access and GCS Access
If your source data is stored in Amazon S3 or Google Cloud Storage (GCS) buckets, before importing or migrating the data to TiDB Cloud, you need to configure cross-account access to the buckets. This document describes how to do this.
Configure Amazon S3 access
To allow TiDB Cloud to access the source data in your Amazon S3 bucket, take the following steps to configure the bucket access for TiDB Cloud and get the Role-ARN.
In the TiDB Cloud console, get the TiDB Cloud account ID and external ID of the target TiDB cluster.
In the TiDB Cloud console, choose your target project, and navigate to the Clusters page.
Locate your target cluster, click ... in the upper-right corner of the cluster area, and select Import Data. The Data Import page is displayed.
On the Data Import page, click Guide for getting the required Role-ARN to get the TiDB Cloud Account ID and TiDB Cloud External ID. Take a note of these IDs for later use.
In the AWS Management Console, create a managed policy for your Amazon S3 bucket.
Sign in to the AWS Management Console and open the Amazon S3 console at https://console.aws.amazon.com/s3/.
In the Buckets list, choose the name of your bucket with the source data, and then click Copy ARN to get your S3 bucket ARN (for example,
arn:aws:s3:::tidb-cloud-source-data). Take a note of the bucket ARN for later use.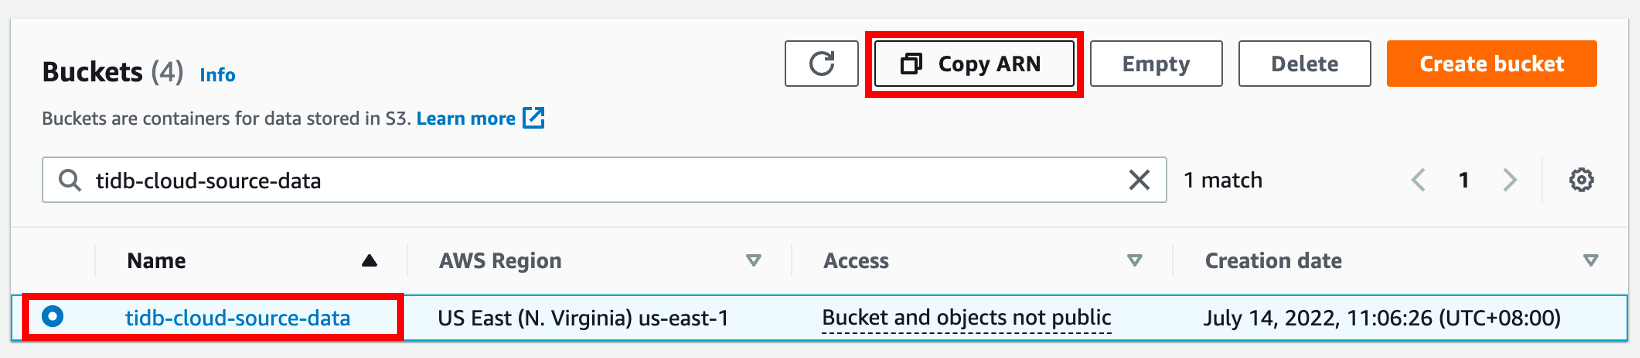
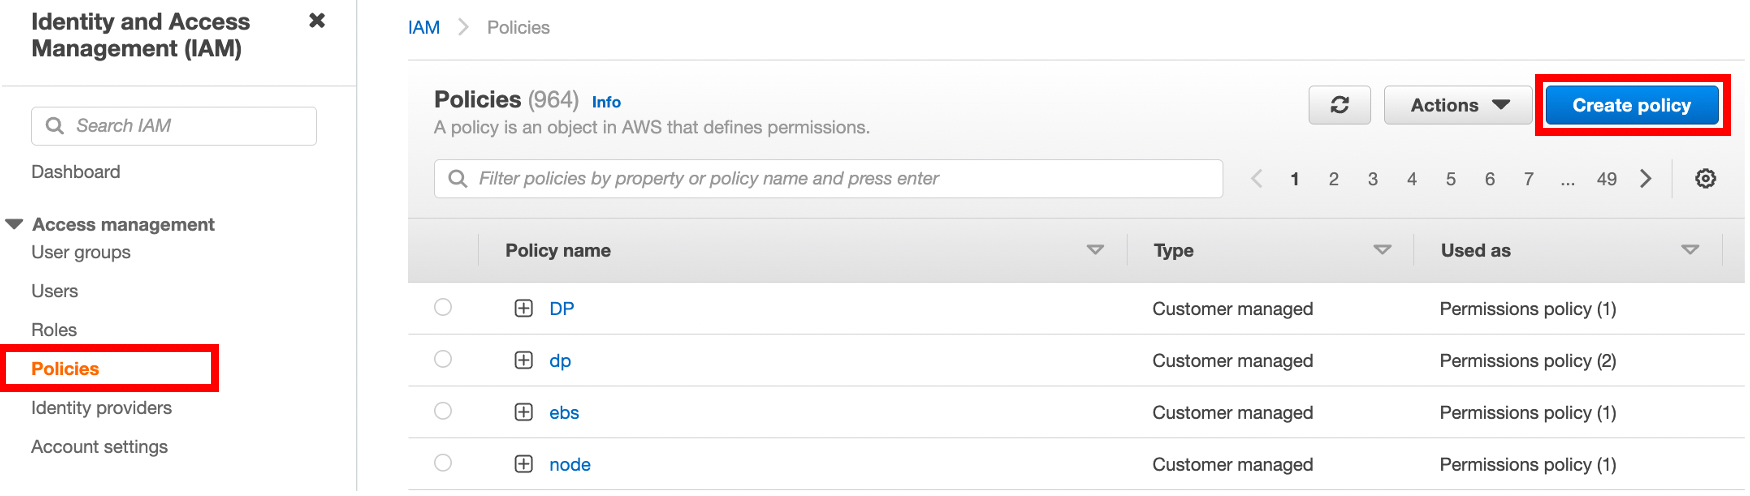
Open the IAM console at https://console.aws.amazon.com/iam/, click Policies in the navigation pane on the left, and then click Create Policy.
On the Create policy page, click the JSON tab.
Copy the following access policy template and paste it to the policy text field.
{
    "Version": "2012-10-17",
    "Statement": [
        {
            "Sid": "VisualEditor0",
            "Effect": "Allow",
            "Action": [
                "s3:GetObject",
                "s3:GetObjectVersion"
            ],
            "Resource": "<Your S3 bucket ARN>/<Directory of your source data>/*"
        },
        {
            "Sid": "VisualEditor1",
            "Effect": "Allow",
            "Action": [
                "s3:ListBucket",
                "s3:GetBucketLocation"
            ],
            "Resource": "<Your S3 bucket ARN>"
        }
    ]
}
In the policy text field, update the following configurations to your own values.
"Resource": "<Your S3 bucket ARN>/<Directory of the source data>/*"For example, if your source data is stored in the root directory of the
tidb-cloud-source-databucket, use"Resource": "arn:aws:s3:::tidb-cloud-source-data/*". If your source data is stored in themydatadirectory of the bucket, use"Resource": "arn:aws:s3:::tidb-cloud-source-data/mydata/*". Make sure that/*is added to the end of the directory so TiDB Cloud can access all files in this directory."Resource": "<Your S3 bucket ARN>"For example,
"Resource": "arn:aws:s3:::tidb-cloud-source-data".
Click Next: Tags, add a tag of the policy (optional), and then click Next:Review.
Set a policy name, and then click Create policy.
In the AWS Management Console, create an access role for TiDB Cloud and get the role ARN.
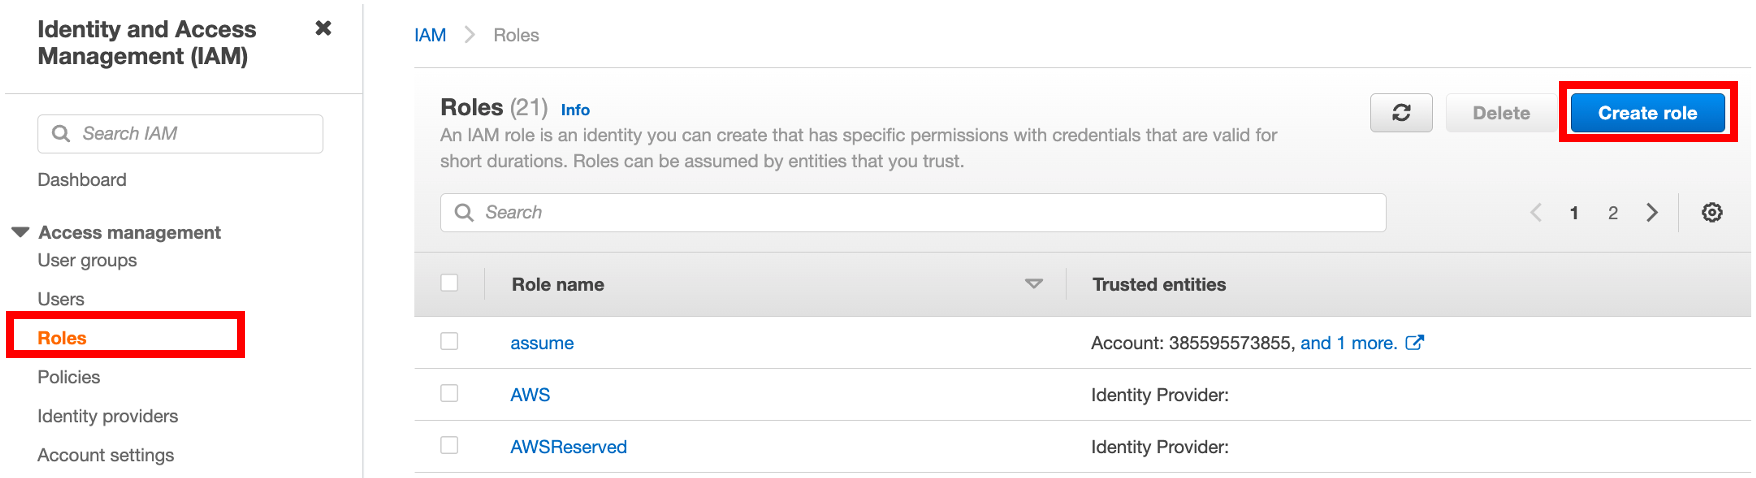
In the IAM console at https://console.aws.amazon.com/iam/, click Roles in the navigation pane on the left, and then click Create role.
To create a role, fill in the following information:
- Under Trusted entity type, select AWS account.
- Under An AWS account, select Another AWS account, and then paste the TiDB Cloud account ID to the Account ID field.
- Under Options, click Require external ID (Best practice when a third party will assume this role), and then paste the TiDB Cloud External ID to the External ID field. If the role is created without "Require external ID", once the configuration is done for one TiDB cluster in a project, all TiDB clusters in that project can use the same Role-ARN to access your Amazon S3 bucket. If the role is created with the account ID and external ID, only the corresponding TiDB cluster can access the bucket.
Click Next to open the policy list, choose the policy you just created, and then click Next.
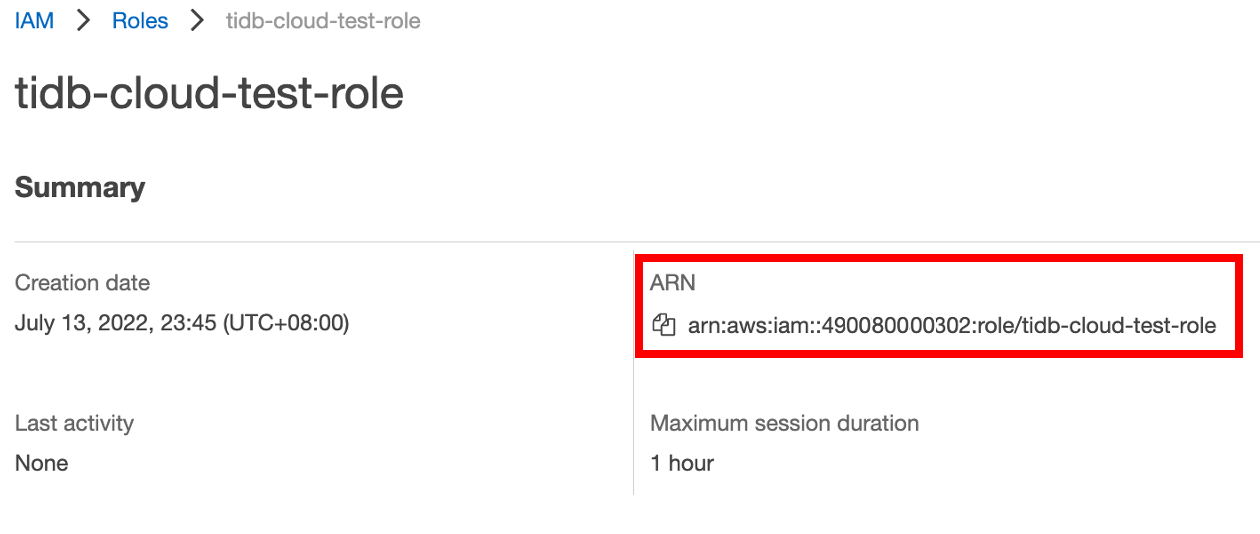
Under Role details, set a name for the role, and then click Create role in the lower-right corner. After the role is created, the list of roles is displayed.
In the list of roles, click the name of the role that you just created to go to its summary page, and then copy the role ARN.
In the TiDB Cloud console, go to the Data Import page where you get the TiDB Cloud account ID and external ID, and then paste the role ARN to the Role ARN field.
Configure GCS access
To allow TiDB cloud to access the source data in your GCS bucket, you need to configure the GCS access for each TiDB Cloud as a service on the GCP project and GCS bucket pair. Once the configuration is done for one cluster in a project, all database clusters in that project can access the GCS bucket.
Get the Google Cloud Service Account ID of the target TiDB cluster.
In the TiDB Cloud console, locate your target cluster on the Clusters page, click ... in the upper-right corner of the cluster area, and select Import Data. The Data Import page is displayed.
Click Show Google Cloud Service Account ID, and then copy the Service Account ID.
In the Google Cloud Platform (GCP) Management Console, go to IAM & Admin > Roles, and then check whether a role with the following read-only permissions of the storage container exists.
- storage.buckets.get
- storage.objects.get
- storage.objects.list
If yes, you can use the matched role for the target TiDB cluster in the following steps. If not, go to IAM & Admin > Roles > CREATE ROLE to define a role for the target TiDB cluster.
Go to Cloud Storage > Browser, select the GCS bucket you want TiDB Cloud to access, and then click SHOW INFO PANEL.
The panel is displayed.
In the panel, click ADD PRINCIPAL.
The dialog box for adding principals is displayed.
In the dialog box, perform the following steps:
- In the New Principals field, paste the Google Cloud Service Account ID of the target TiDB cluster.
- In the Role drop-down list, choose the role of the target TiDB cluster.
- Click SAVE.
Your TiDB Cloud cluster can now access the GCS bucket.